Android Initial Setup
This page provides an overview of the initial setup required for building Android applications using Mill.
1. Install Mill
Don’t have Mill installed yet? You can follow the steps as described in Installation & IDE Setup
2. Install cmdline-tools (including sdkmanager)
To interact with the Android SDK in a headless or build-tool-friendly way, you need access to cmdline-tools, which include the sdkmanager utility.
There are two ways to obtain them:
Via Android Studio:
If you already have Android Studio installed, cmdline-tools may already be installed in ~/Android/Sdk/cmdline-tools/.
They can also be installed from the GUI through the SDK Manager:
-
Open Android Studio.
-
Go to
Settings. -
Navigate to
Languages & Framework>Android SDK. -
Switch to the
SDK Toolstab. -
Check the box for
Android SDK Command-line Tools (latest)and clickOK.
Standalone download:
Alternatively, download cmdline-tools.
Extract the downloaded archive to your Android SDK directory, typically ~/Android/Sdk/cmdline-tools/.
The structure should look like this:
$ANDROID_HOME/cmdline-tools/latest/bin/sdkmanager.
If using a custom path, be sure to export the ANDROID_HOME environment variable accordingly:
export ANDROID_HOME=/path/to/android/sdk
export PATH="$ANDROID_HOME/cmdline-tools/latest/bin:$PATH"
Make sure to also accept the licenses in order for mill to install the required SDK components. The following command accepts all licenses automatically:
yes | sdkmanager --licenses3. Create a new Mill project
The structure of a Mill project and the relative Android commands can be found in the following pages:
If you want to start with an example project, you can use the init command as shown in this page.
5. Release the project
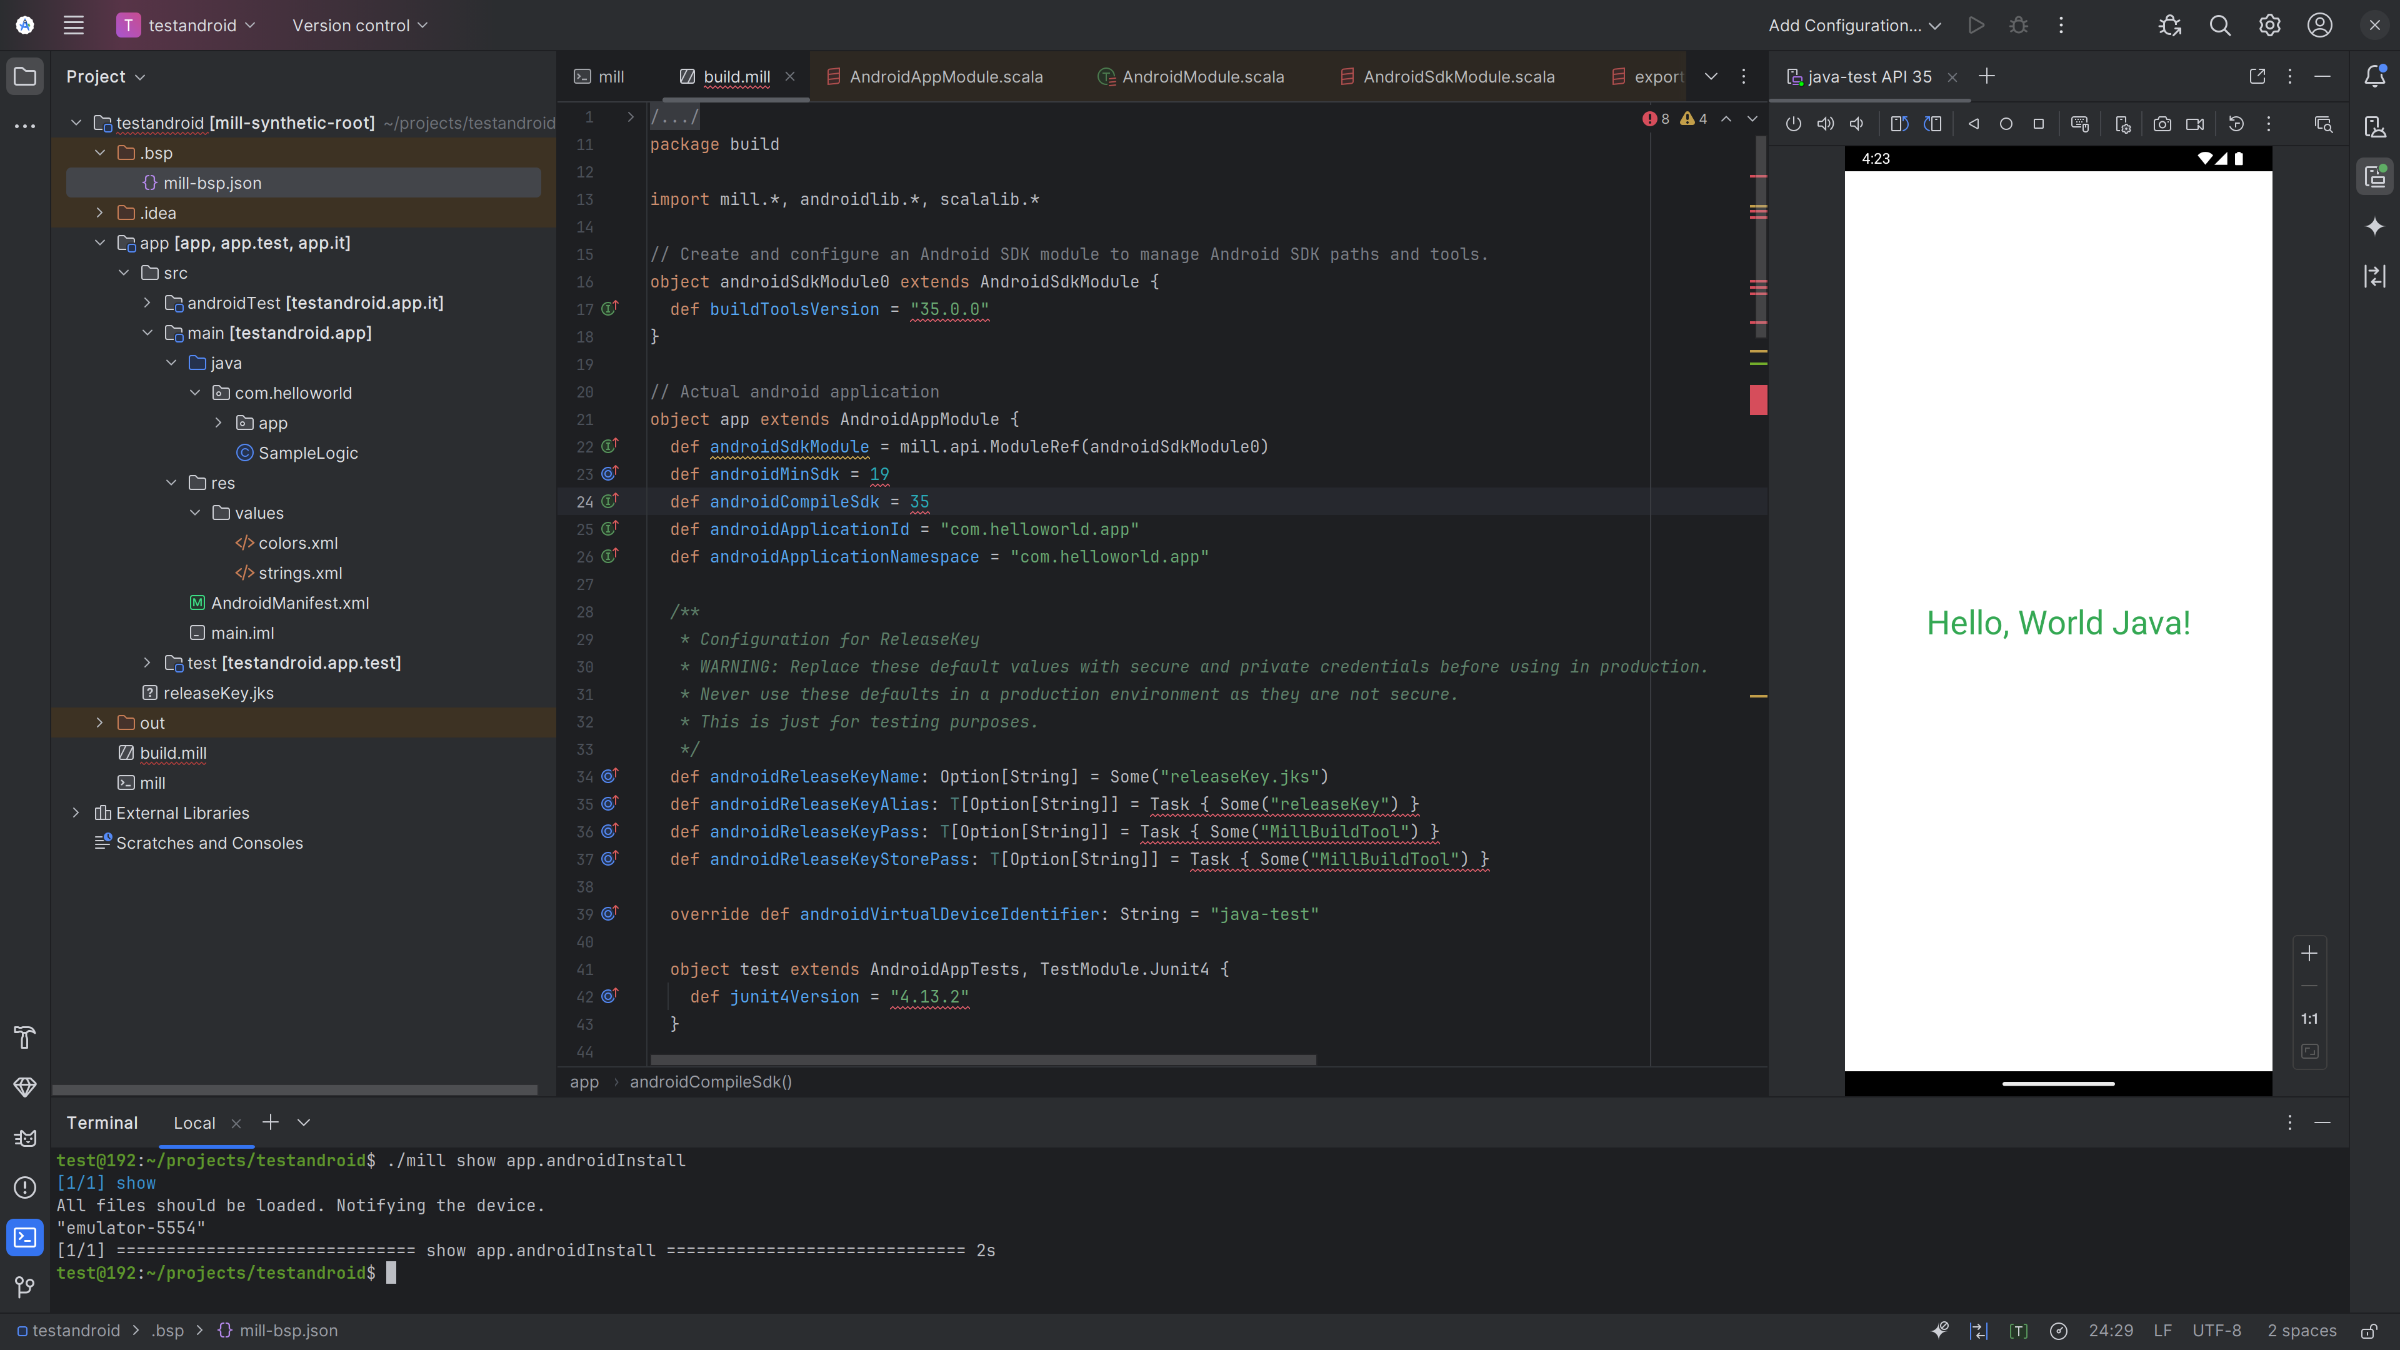
By default, mill projects are considered in debug mode, so if your project is ready for release, you should add the following to your app object in the build.mill file:
override def androidIsDebug = Task { false }
def androidReleaseKeyName: Option[String] = Some("releaseKey.jks")
def androidReleaseKeyAlias: T[Option[String]] = Task { Some("releaseKey") }
def androidReleaseKeyPass: T[Option[String]] = Task { Some("MillBuildTool") }
def androidReleaseKeyStorePass: T[Option[String]] = Task { Some("MillBuildTool") }
Make sure to replace the values with your actual keystore information.
If you don’t have a keystore yet, you can create one using the keytool command:
keytool -genkey -v -keystore releaseKey.jks \
        -storepass <PASS> -keyalg RSA \
        -keysize 2048 -validity 10000 \
        -alias releaseKey -keypass <PASS>